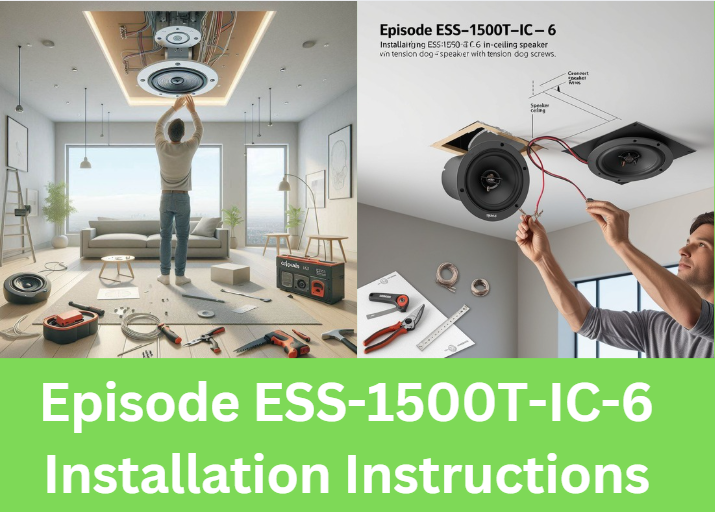
Episode ESS-1500T-IC-6 Installation Instructions: A Step-by-Step Expert Guide
The Episode ESS-1500T-IC-6 is a high-performance in-ceiling speaker designed for exceptional audio quality in home or commercial setups. Proper installation of this speaker is essential to unlock its full potential and achieve seamless sound distribution.
This guide provides detailed Episode ESS-1500T-IC-6 installation instructions, including preparation, wiring, adjustments, and troubleshooting, to ensure a successful and hassle-free setup.
Tools and Materials Needed

Before beginning the installation, gather the following tools and materials:
- Drywall saw
- Wire strippers
- Measuring tape
- Phillips-head screwdriver
- Pencil or marker for marking
- Electrical tape (optional)
Having these tools ready ensures the process runs smoothly without interruptions.
Choosing the Perfect Location
Importance of Speaker Placement
The placement of the Episode ESS-1500T-IC-6 speaker significantly impacts sound quality. Select a spot that provides even sound distribution throughout the room. Avoid areas with obstructions like ceiling joists, pipes, or electrical wiring.
Using the Template
The speaker comes with a cutout template. Place the template against the ceiling at your desired location and trace the outline with a pencil or marker. This ensures accuracy and minimizes errors during the cutting phase.
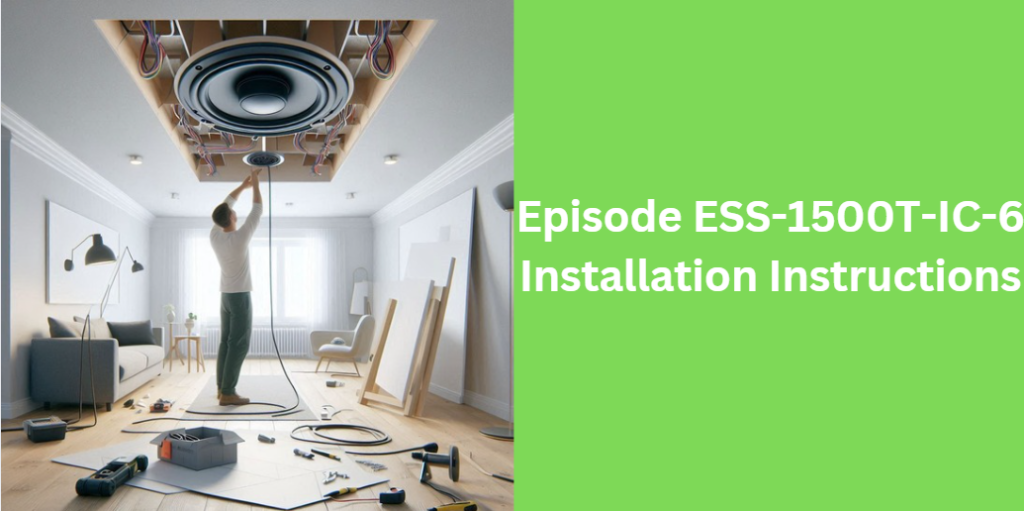
Cutting the Ceiling
Carefully cut along the marked outline using a drywall saw. It’s essential to cut slowly to avoid damaging surrounding areas or over-enlarging the hole. Once the hole is complete, clean up any debris to ensure a neat working environment.
Wiring the Episode ESS-1500T-IC-6 Speaker
Preparing the Wires
Strip approximately ¼ inch of insulation from the speaker wires to expose the copper conductors. Ensure the wires are long enough to reach the speaker’s terminals comfortably.
Connecting the Wires
Insert the stripped ends into the gold-plated push terminals on the speaker. Match the polarity: connect the positive wire to the positive terminal (+) and the negative wire to the negative terminal (−). Proper polarity ensures optimal audio performance.
Routing the Wires
Secure the wires along the ceiling joists using clips or electrical tape. This prevents tangling and keeps the installation neat.
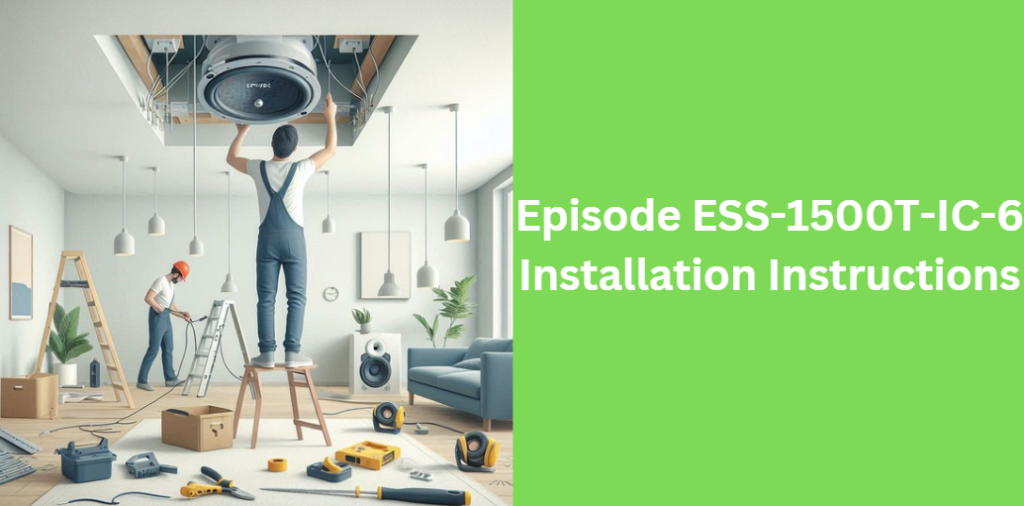
Securing the Speaker in Place
Inserting the Speaker
Carefully insert the Episode ESS-1500T-IC-6 speaker into the cutout, aligning it evenly. The speaker should fit snugly without forcing it.
Using Tension Dogs
Tighten the tension dog screws. These innovative screws secure the speaker in place and require just a quarter turn to activate. Fully tighten to ensure the speaker is securely mounted but avoid over-tightening to prevent damage.
Fine-Tuning for Optimal Sound
Adjusting the Pivoting Tweeter
The pivoting tweeter allows you to direct sound to your desired listening area. Gently adjust the tweeter’s angle for optimal sound distribution.
Tweeter Compensation Switch
This feature lets you fine-tune the high frequencies by ±1.5dB. Experiment with different settings to achieve your preferred audio profile.
Attaching the Grille
After final adjustments, snap the thin-bezel grille onto the speaker. This grille provides a sleek, professional finish while protecting the speaker components. If desired, you can paint the grille to match your room’s decor using compatible paint.
Troubleshooting and Common Mistakes
If you encounter issues during installation, refer to these tips:
- No Sound: Verify the wiring connections and ensure proper polarity.
- Loose Speaker: Re-check the tension dog screws and ensure they are tightened correctly.
- Poor Sound Quality: Adjust the tweeter angle or compensation switch to improve audio output.
To avoid mistakes, double-check all steps, especially wiring and placement, before finalizing the installation.
Example Table: Installation Process Summary
| Step | Details |
|---|---|
| Preparation | Gather tools, identify the location, and use the template. |
| Cutting the Ceiling | Cut carefully using a drywall saw and clean debris. |
| Wiring | Strip and connect wires, ensuring proper polarity. |
| Securing the Speaker | Insert into the cutout and tighten tension dog screws. |
| Fine-Tuning | Adjust the tweeter angle and compensation switch. |
| Finalizing Installation | Attach the grille for a polished finish. |
Advanced Tips for Professional Installation
For more advanced setups, consider integrating the Episode ESS-1500T-IC-6 with a multi-room audio system. Using soundproofing materials can also enhance acoustics and minimize sound leakage to other areas.
Conclusion
The Episode ESS-1500T-IC-6 installation instructions provided in this guide offer a step-by-step approach to achieve a professional-quality setup.
By following these detailed instructions, you can ensure optimal performance, seamless integration, and a clean, polished look for your in-ceiling speakers. Whether for home or commercial use, proper installation will unlock the full potential of this high-performance audio system.
Enjoy crystal-clear sound and the satisfaction of a job well done! If you have questions, feel free to leave a comment or share your experience.
FAQs for Episode ESS-1500T-IC-6 Installation Instructions
Can I install the Episode ESS-1500T-IC-6 in a room with a sloped ceiling?
Yes, the Episode ESS-1500T-IC-6 speaker can be installed in rooms with sloped ceilings, but it is important to adjust the speaker’s angle to ensure optimal sound distribution. If you are installing the speaker on a slanted surface, consider using additional mounting brackets or supports to secure the speaker properly.
How do I determine the ideal speaker placement in a large room?
For larger rooms, you should consider placing the Episode ESS-1500T-IC-6 speakers approximately 6-8 feet apart, facing the primary listening area. Ensure they are positioned in a way that allows for even sound dispersion across the room. You may need to experiment with placement to avoid sound distortion caused by room acoustics.
Can I install the Episode ESS-1500T-IC-6 speakers in a ceiling that has insulation?
Yes, but extra care should be taken to ensure proper ventilation around the speakers. It’s recommended to use speaker mounting brackets or enclosures specifically designed for ceilings with insulation to prevent the speakers from overheating or being affected by trapped heat.
What is the recommended power handling for the Episode ESS-1500T-IC-6 speaker?
The Episode ESS-1500T-IC-6 has a power handling capability of 50 to 150 watts, making it suitable for most home and commercial audio systems. Be sure to match the speaker’s power handling with the specifications of your amplifier or receiver to avoid damaging the components.
How do I maintain my Episode ESS-1500T-IC-6 speakers to keep them performing well?
Regularly inspect the speaker grille and clean any dust or debris using a soft, dry cloth. Avoid using harsh cleaning agents that could damage the finish. Additionally, periodically check the speaker’s wiring connections and tighten any loose screws or components to maintain optimal performance.
Affiliated Posts Like Episode ESS-1500T-IC-6 Installation Instructions
Understanding 223.5/49.67: Meaning, Calculation, and Practical Applications
Jada Toys Speed Racer International Flatbed with Mach 5: The Ultimate Collector’s Guide
Dead or Alive 5 Last Round v1.10C DLC Pack: The Ultimate Guide to Enhance Your Gameplay